Home
Tuscan Veranda Project: Perimeter Masonry (Phase 1)
Tuscan Veranda Project: Perimeter Masonry (Phase 2)
Tuscan Veranda Project: Perimeter Masonry (Phase 3)
Project begins: March 2018
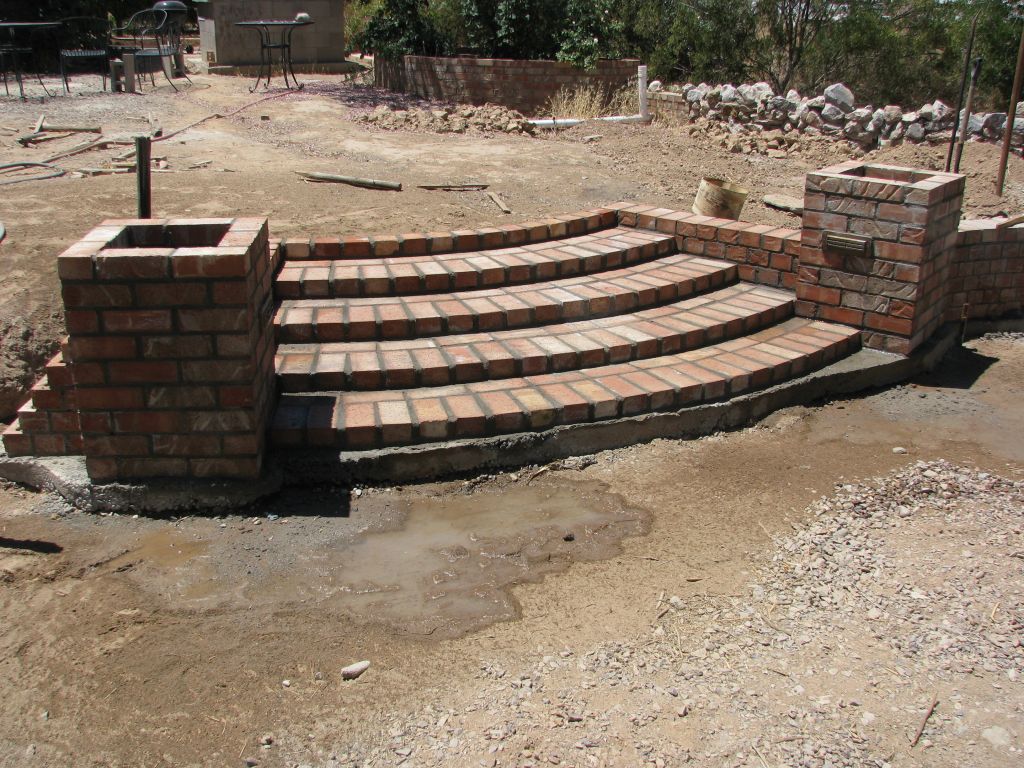
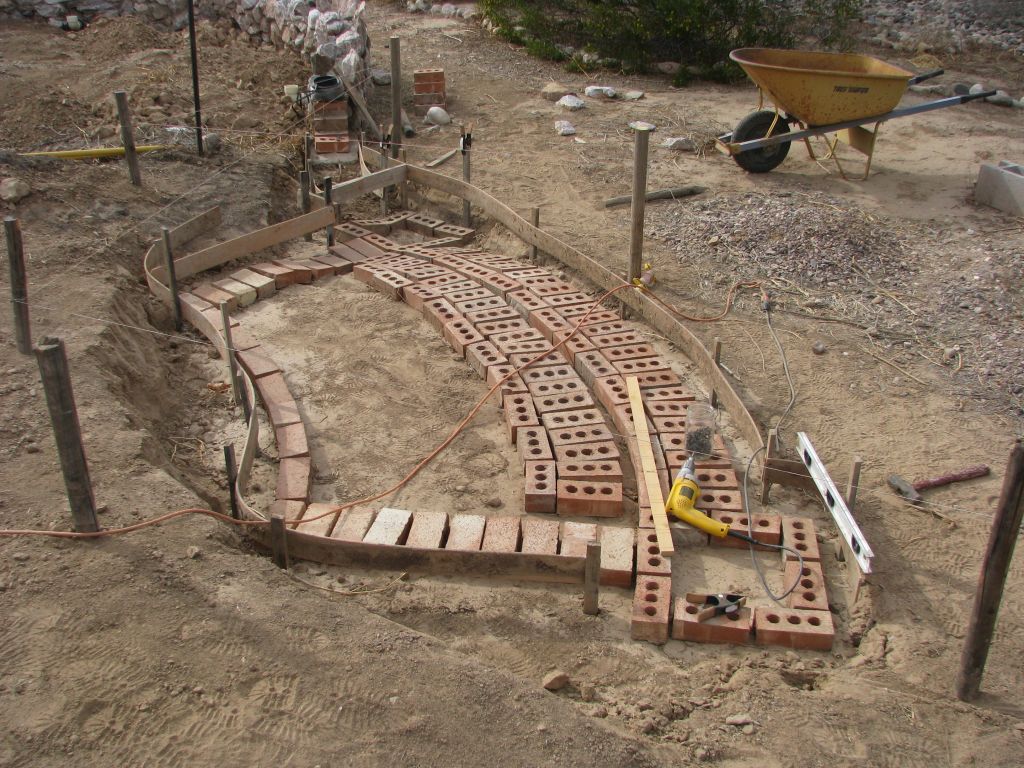
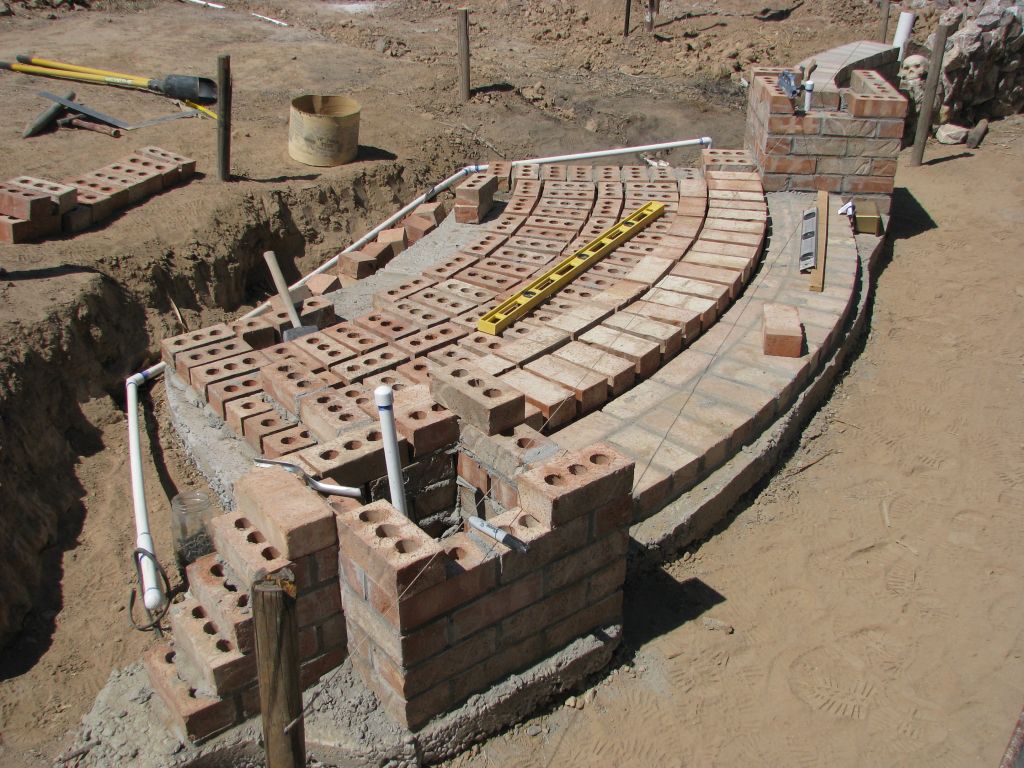
Before I completed the "skull wall", I moved on to the north-facing stairs. I actually needed the planter towers that flank the stairs as a frame of reference for the height of the skull wall so I took a break on the skull wall to complete Phase 4. The first step was to lay out a dry run of what the steps would look like. Unlike the three rises of steps that I build during Phase 1, the slope of the ground was deeper in this part of the yard, requiring another rise of steps.
After completing the forms, I dropped in some reinforcement before pouring the foundation.
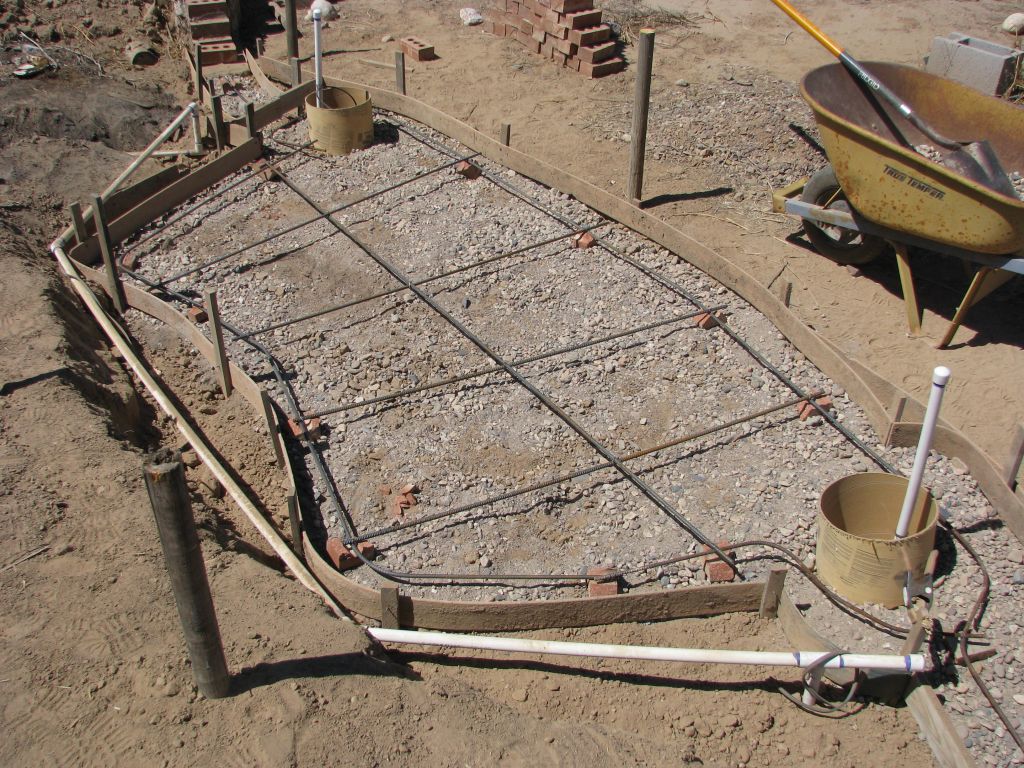
Also unlike the west-facing stairs, I learned my lesson and installed the irrigation and low-voltage wiring BEFORE completing the stairs. Otherwise, I would have had to dig out underneath the foundation to run pipe and wire.
Project completed: May 2018
The work took about three months of weekends and early mornings, which I wanted to complete before the weather got too hot outside to do masonry.